This documentation is provided for informational purposes only and demonstrates how to configure and use our API with third-party AI chat interfaces. Any third-party software, websites, or services mentioned are not operated, controlled, or endorsed by us.
Introduction to TypingMind
- Multi-provider model support with custom API configurations
- Advanced prompt library and conversation management
- Document upload capabilities for Retrieval-Augmented Generation (RAG)
- Options for personal use, team collaboration, and self-hosting for privacy
Step
1
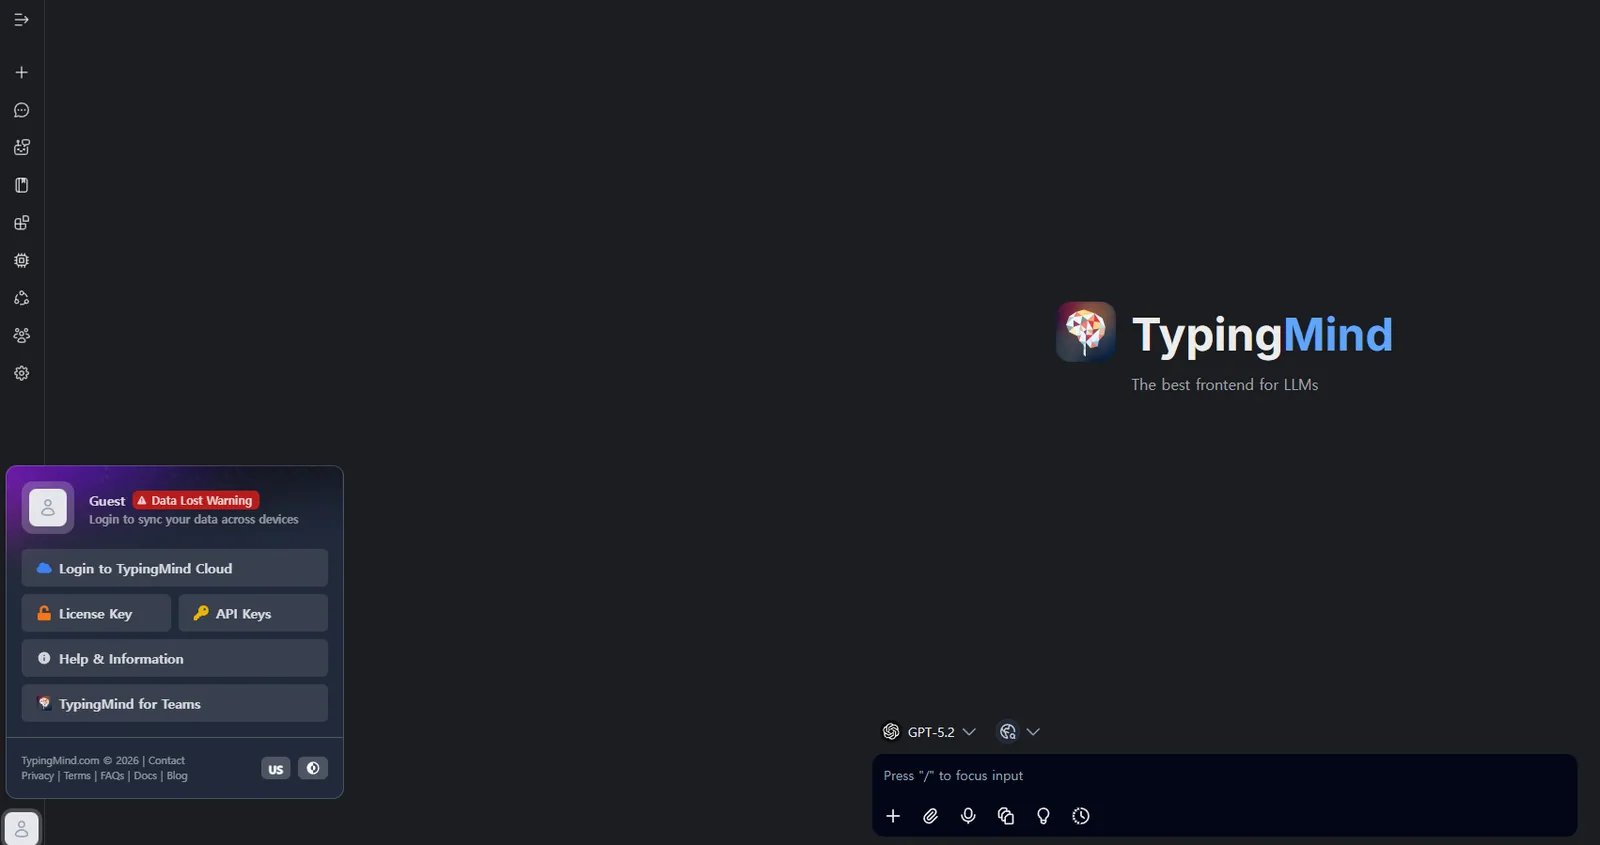
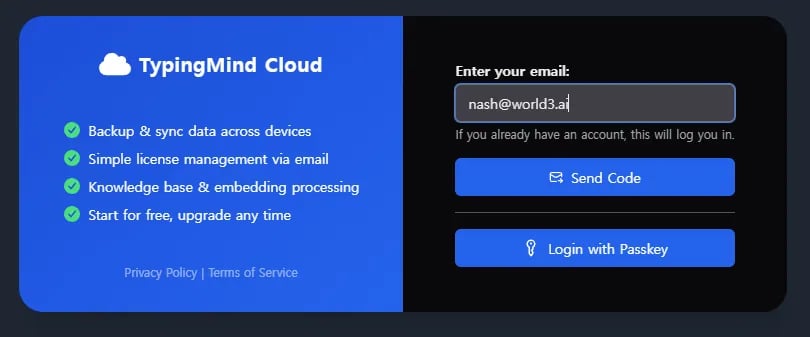
Access TypingMind
2
Add a Custom Model
Click the Models icon in the left sidebar, then select “Add custom model”.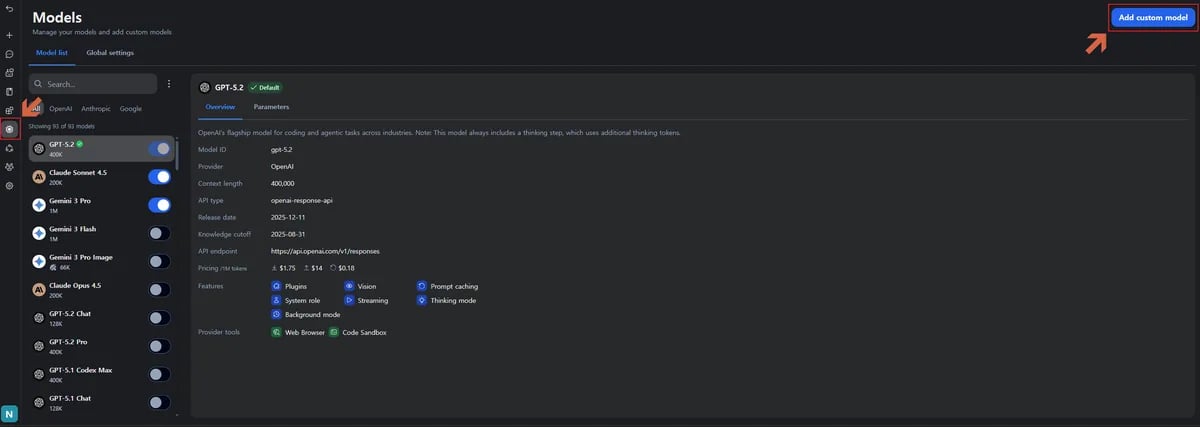
3
Configure Model Parameters
Creation Method: Select “Create Manually”.Here are example model configurations compatible with both Anthropic and OpenAI formats.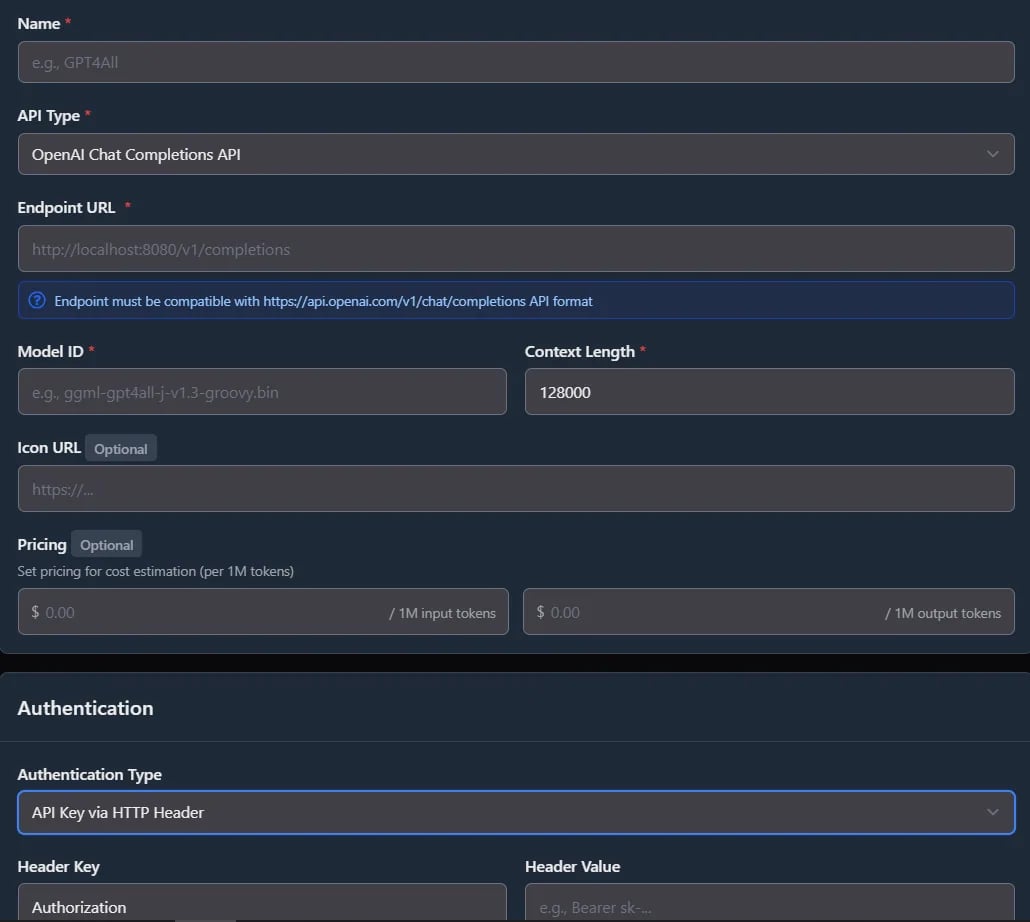
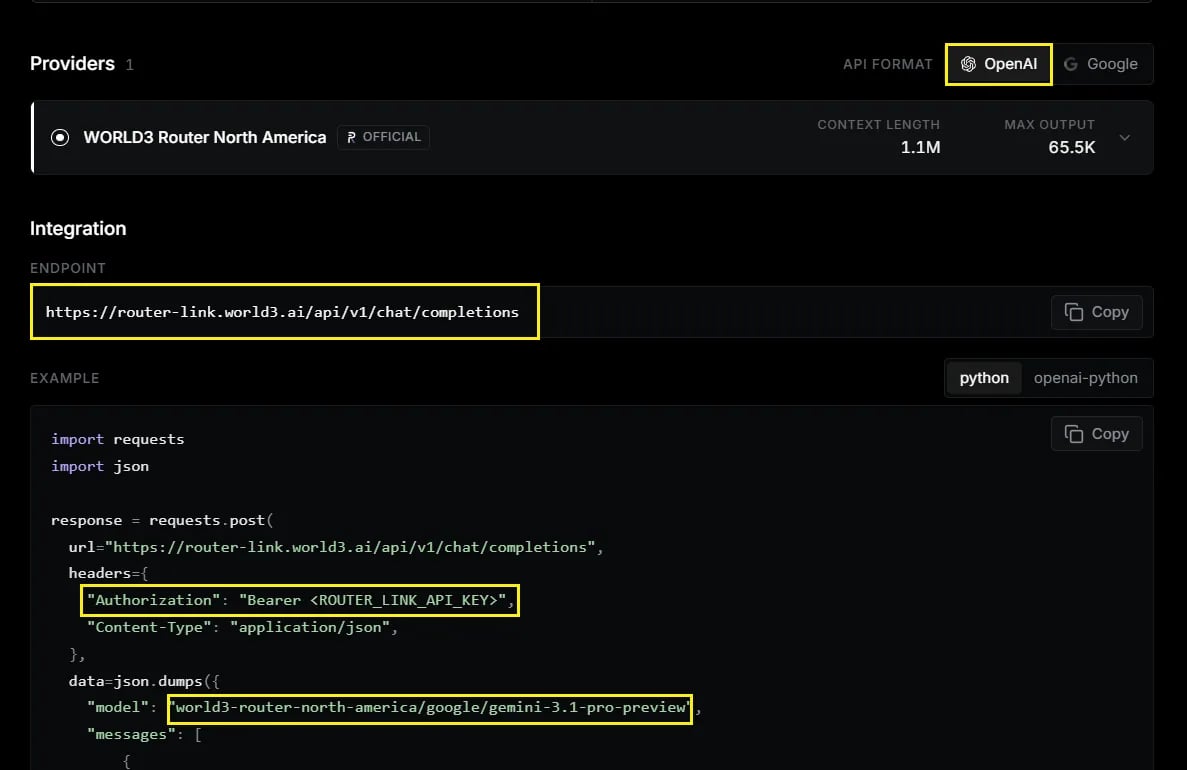
Make sure to replace
<X6_API_KEY> with your API key from x6.ai.GPT-5.5Make sure to replace
<X6_API_KEY> with your API key from x6.ai.You can add other models based on these:4
Validate Configuration
Click the “Test” button to verify the connection is working correctly.Finally, click “Add Model”.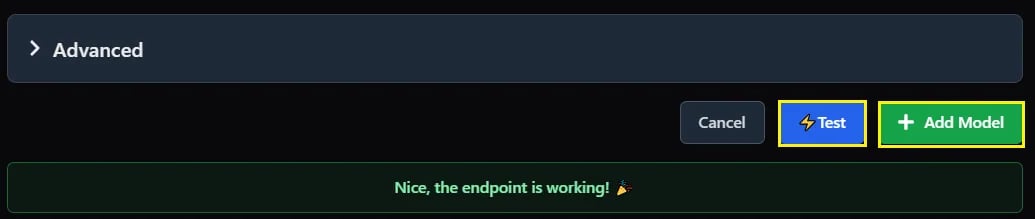
5
Initiate a Conversation
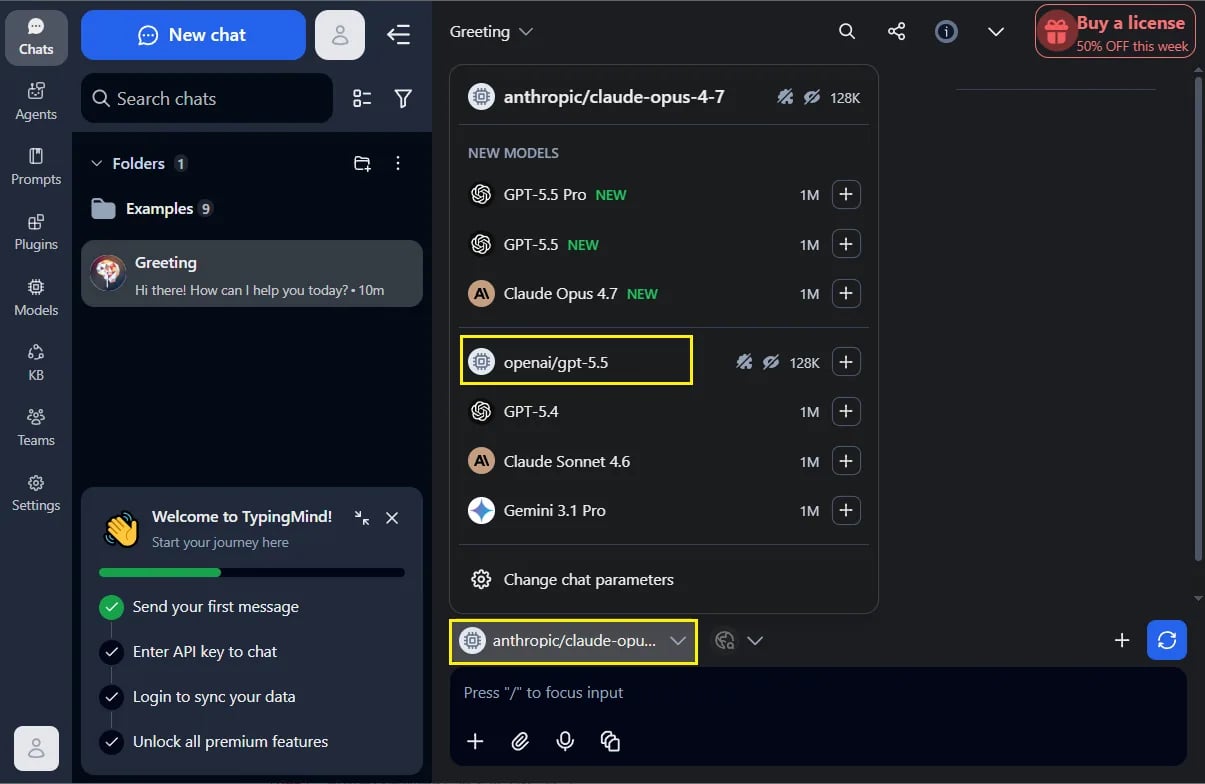
Click “Chats” in the top-left navigation area to access the conversation interface.Select the model you just configured from the icon menu.