> ## Documentation Index
> Fetch the complete documentation index at: https://docs.preview.x6.ai/llms.txt
> Use this file to discover all available pages before exploring further.
# Cline 插件
> 本文档仅供参考,演示如何配置我们的 API 与第三方 AI 聊天界面配合使用。文中提及的任何第三方软件、网站或服务均非由我们运营、控制或背书。
# **Cline 插件简介**
 [Cline](https://github.com/cline/cline) 是一款驻留在您的编辑器和终端中的 AI 编程智能体。它可以读写文件、运行终端命令、使用浏览器,并通过自然对话帮助您构建功能。每项操作都需要您的明确授权,您始终掌握控制权。
# **步骤**
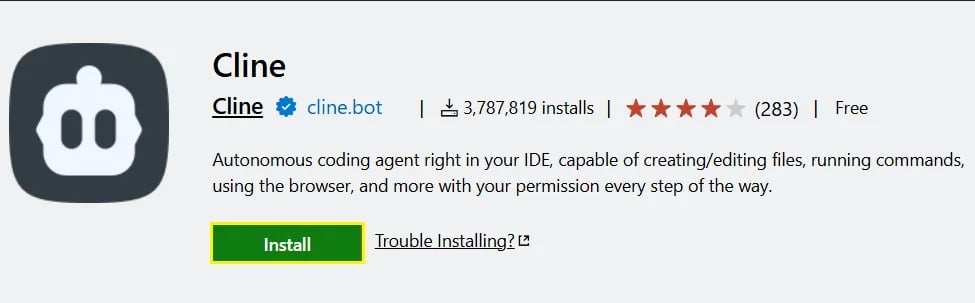
从 [**VS Code**](https://code.visualstudio.com/download) 应用市场 **安装** **[Cline 扩展](https://marketplace.visualstudio.com/items?itemName=saoudrizwan.claude-dev)。**
[Cline](https://github.com/cline/cline) 是一款驻留在您的编辑器和终端中的 AI 编程智能体。它可以读写文件、运行终端命令、使用浏览器,并通过自然对话帮助您构建功能。每项操作都需要您的明确授权,您始终掌握控制权。
# **步骤**
从 [**VS Code**](https://code.visualstudio.com/download) 应用市场 **安装** **[Cline 扩展](https://marketplace.visualstudio.com/items?itemName=saoudrizwan.claude-dev)。**
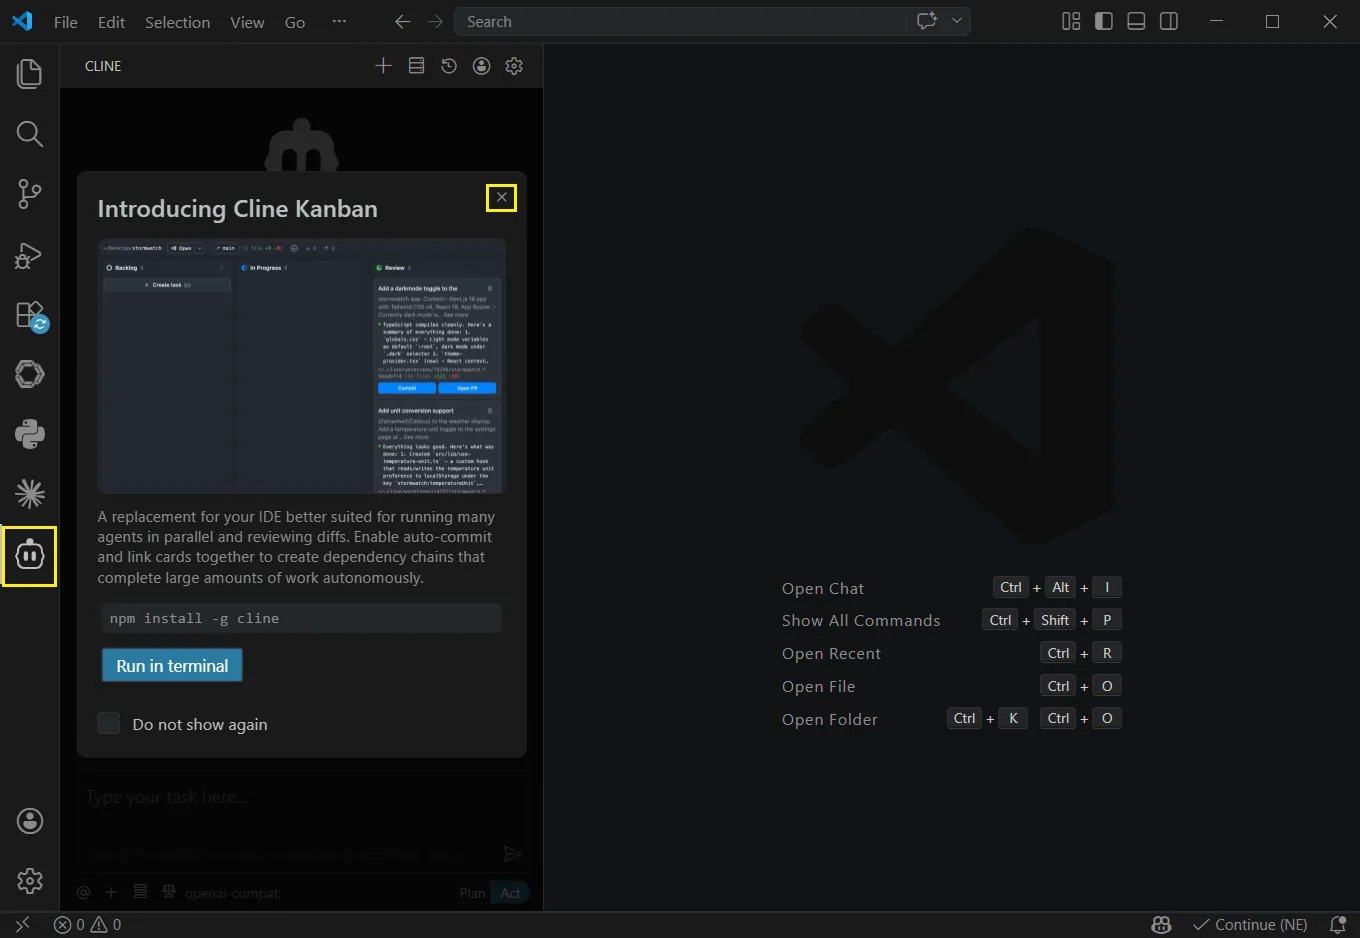
 点击侧边栏的 "Cline" 图标启动插件,然后点击 x. 如果出现"How will you use Cline", 请选择“Absoluately Free”。
 选择 API 提供商。
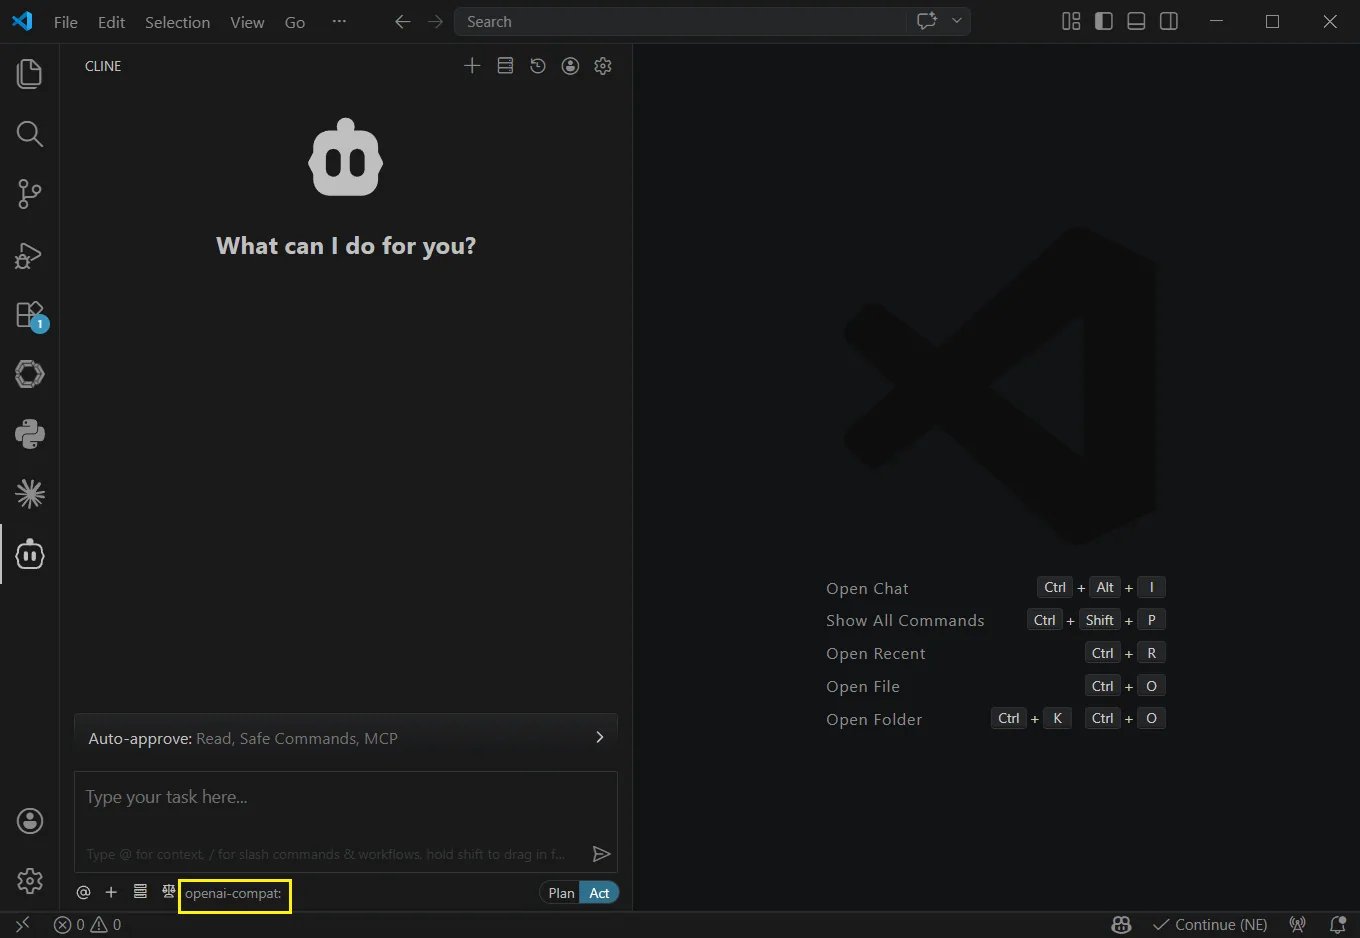 在以下字段中输入配置信息。
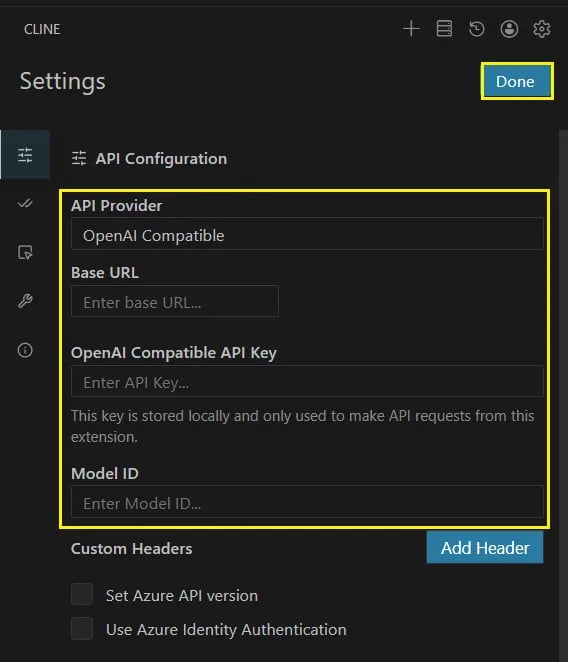 以下示例使用 claude-opus-4.7,API 格式设置为 OpenAI。完成后点击 "Done"。
| 字段 | 内容 |
| :----------- | :-------------------------------------------- |
| API Provider | 选择 "OpenAI Compatible" |
| Base URL | [https://api.x6.ai/v1](https://api.x6.ai/v1) |
| API Key | 从 [x6.ai](https://x6.ai/settings/api-keys) 获取 |
| Model ID | claude-opus-4-7 |
您可以通过改变 Model ID 手动切换[模型](https://x6.ai/models)(需要使用 OpenAI 兼容的 API 格式):
以下示例使用 claude-opus-4.7,API 格式设置为 OpenAI。完成后点击 "Done"。
| 字段 | 内容 |
| :----------- | :-------------------------------------------- |
| API Provider | 选择 "OpenAI Compatible" |
| Base URL | [https://api.x6.ai/v1](https://api.x6.ai/v1) |
| API Key | 从 [x6.ai](https://x6.ai/settings/api-keys) 获取 |
| Model ID | claude-opus-4-7 |
您可以通过改变 Model ID 手动切换[模型](https://x6.ai/models)(需要使用 OpenAI 兼容的 API 格式):
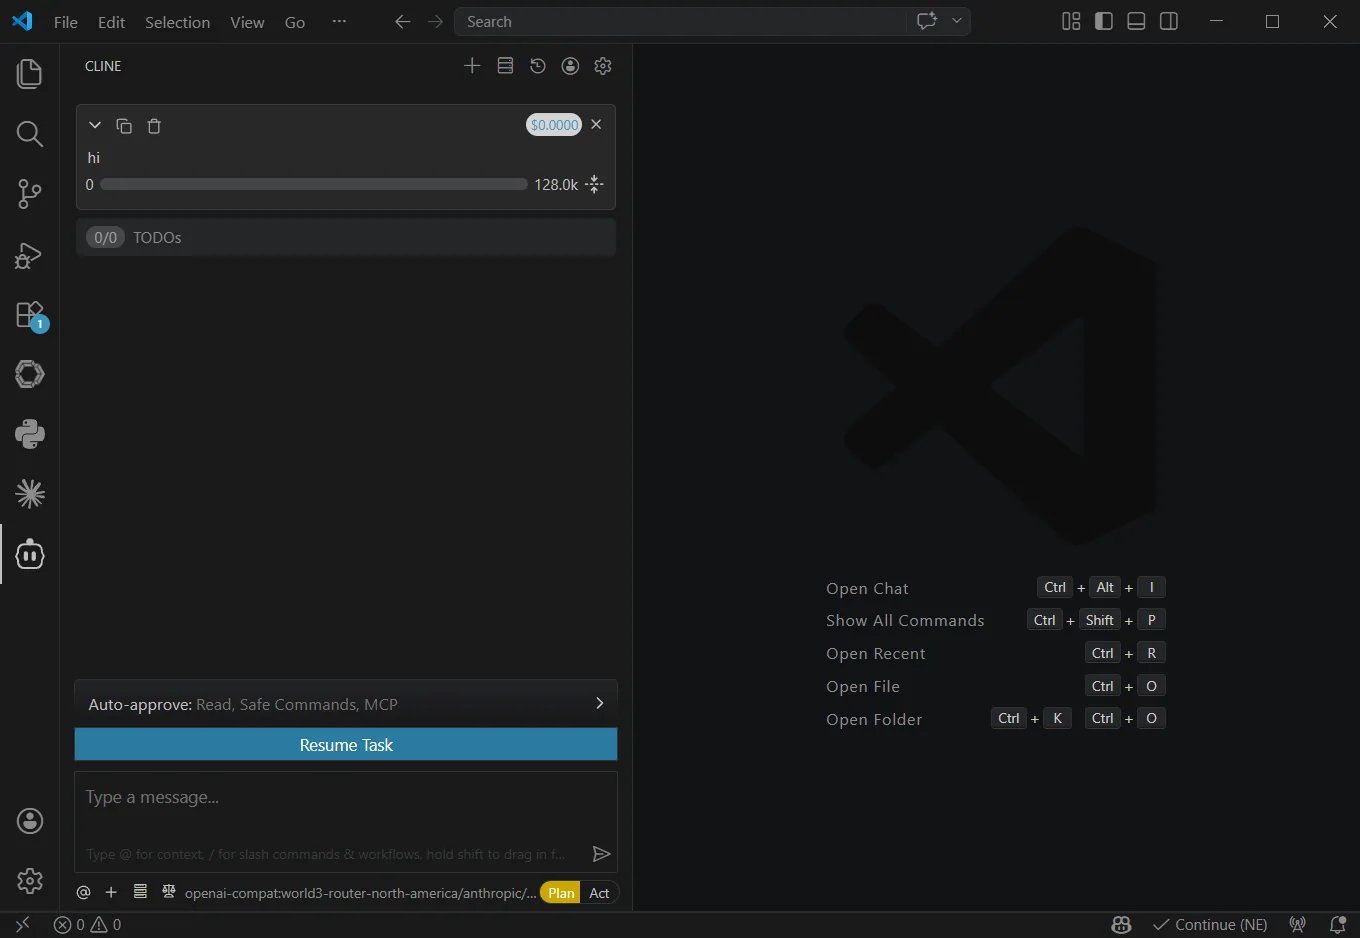
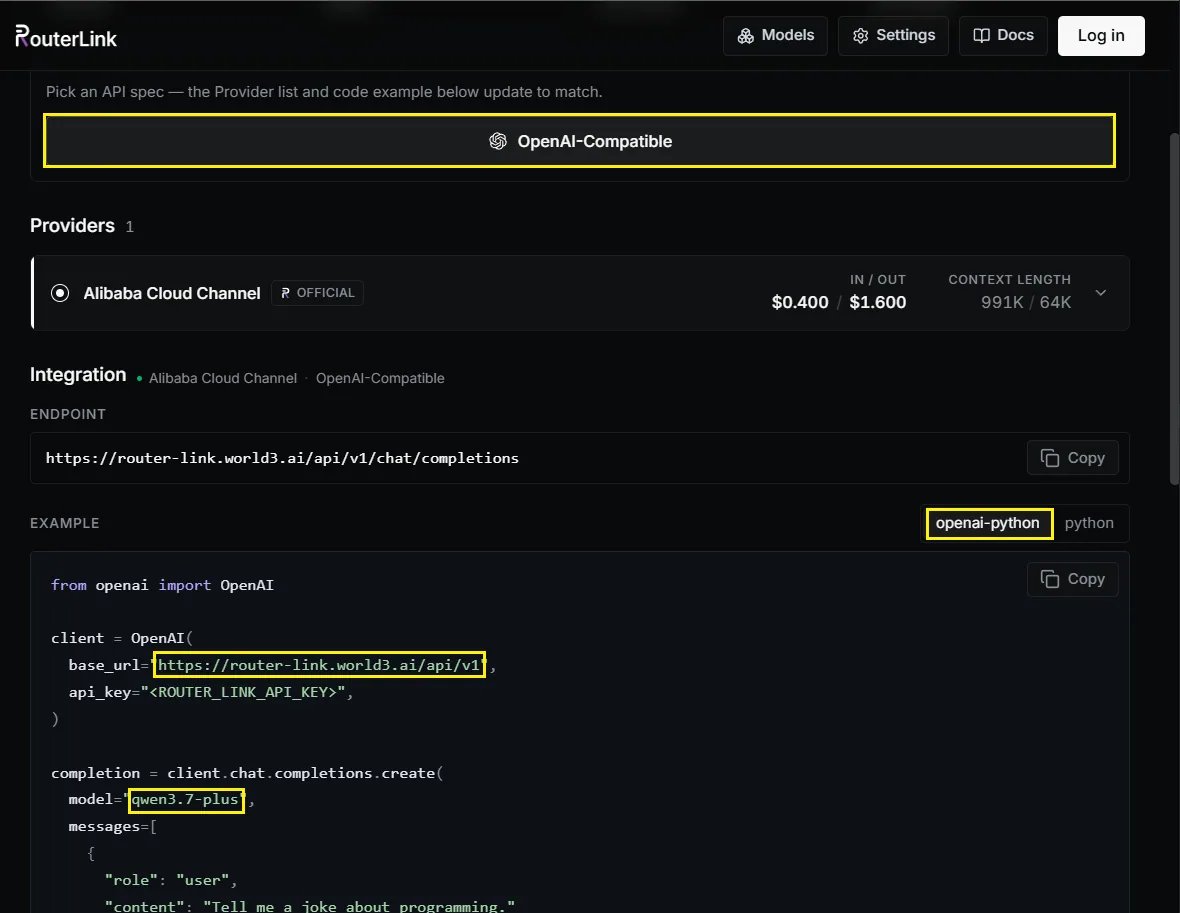 在输入框上方,您可以使用 Auto-approve 配置 Cline 的读写权限和命令执行权限。启用这些权限可增强自动化能力,但也可能增加 token 用量,建议在充分了解 Cline 行为后再启用。
Cline 提供两种工作模式,可在对话框底部切换:
* Plan 模式:专注于信息收集、问题拆解和任务规划,不直接修改文件。
* Act 模式:根据规划执行变更、运行命令并完成任务。
在输入框上方,您可以使用 Auto-approve 配置 Cline 的读写权限和命令执行权限。启用这些权限可增强自动化能力,但也可能增加 token 用量,建议在充分了解 Cline 行为后再启用。
Cline 提供两种工作模式,可在对话框底部切换:
* Plan 模式:专注于信息收集、问题拆解和任务规划,不直接修改文件。
* Act 模式:根据规划执行变更、运行命令并完成任务。